WordPress offers a Visual Editor, or WYSIWYG (What You See Is What You Get) interface, that makes adding content to your site easier. It lets you create and format posts and pages using blocks such as paragraphs, images, videos, and more, with customization options like text colors, background colors, and typography.
However, some advanced users, particularly developers or those familiar with HTML, prefer to work in the text editor instead of the Visual Editor. The code editor allows them to add content directly in HTML, giving them full control over formatting without interference from WordPress’s automatic styling or extra HTML tags. This can improve workflow and make customization easier.
In this post, we’ll show you how to disable the Visual Editor in WordPress, so you can start using the code editor by default. The best part? This method is beginner-friendly, doesn’t require any plugins, and can be done in just a few steps.

Why Disable the Visual Editor Mode in WordPress?
The Visual Editor in WordPress is user-friendly, especially for those who are not familiar with HTML or prefer a straightforward writing experience. With its easy-to-use interface, you can add various elements like text, images, and videos and format them using simple controls.
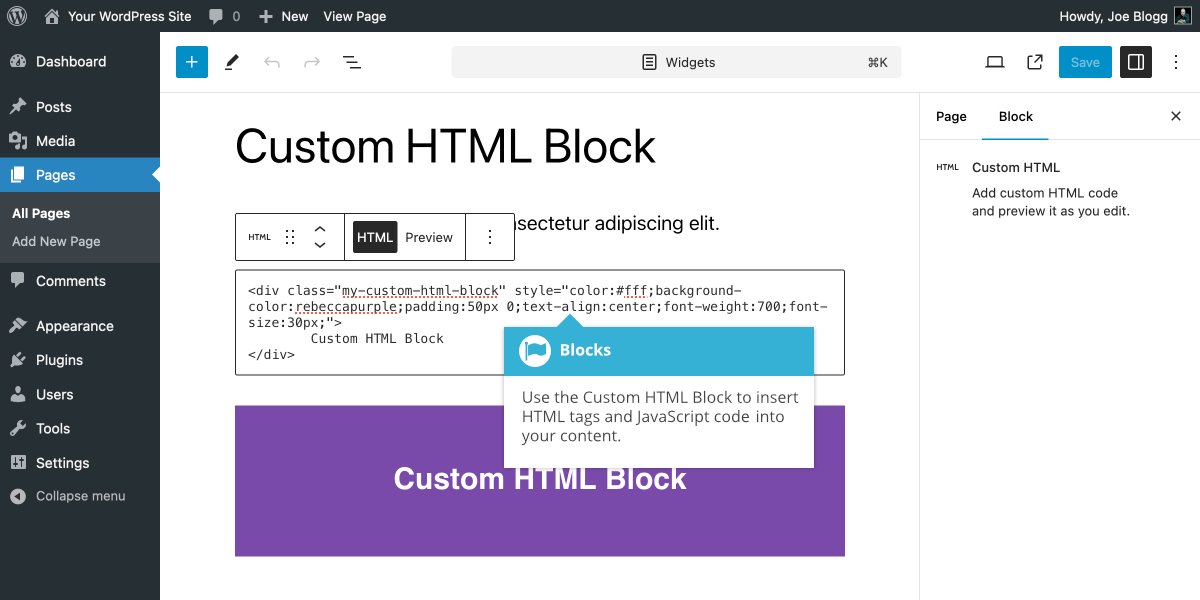
But for advanced users who prefer coding directly in HTML, the Visual Editor can be restrictive. It automatically adds formatting, which sometimes results in unintended changes or extra HTML tags. Switching to the code editor lets users bypass these issues and edit their content in raw HTML, making it easier to control the structure and formatting of posts and pages.
How to Disable the Visual Editor Mode in WordPress
Disabling the Visual Editor in WordPress is quick and easy. Here’s how you can do it:
- Go to the Users Profile Page: First, navigate to the “Users” section in your WordPress dashboard. If you’re not the site administrator, you may only see the “Profile” option instead of the full “Users” menu.
- Disable the Visual Editor: Once you’re in your profile settings, scroll to the top of the page and look for the option labeled “Disable the visual editor when writing.” Check this box.
- Save Your Settings: Click the “Update Profile” button to save the changes.
After you’ve updated your profile, you’ll notice that when you open a new post or page, the Visual Editor is no longer active. Instead, the code editor will be set as the default, where you can work with raw HTML without any additional formatting or styling applied.
Note:
If you’re using the Classic Editor, don’t worry. You can still follow the same steps to disable the Visual Editor and switch to the text editor mode, where your content will appear as raw HTML, without the usual formatting options of the block editor.
Additionally, in the code editor, the “Add Block” button won’t work, since blocks aren’t compatible with this mode.
Bonus: Enhance Your Focus with Distraction-Free Mode
If you want to maximize your productivity while working in the code editor, enabling WordPress’s Distraction-Free Mode is a great idea. This mode removes unnecessary elements from the interface, allowing you to focus solely on your content.
To activate Distraction-Free Mode, follow these steps:
- Open a page or post in the block editor.
- Click the three-dot icon at the top right corner of the screen to open the dropdown menu.
- Select the “Distraction Free” option.
This will give you a clean, full-screen workspace, free from the clutter of extra panels and controls, so you can concentrate fully on writing and editing your content.
By using the code editor in combination with Distraction-Free Mode, you can create a streamlined, focused environment for content creation, boosting both your productivity and creativity.


